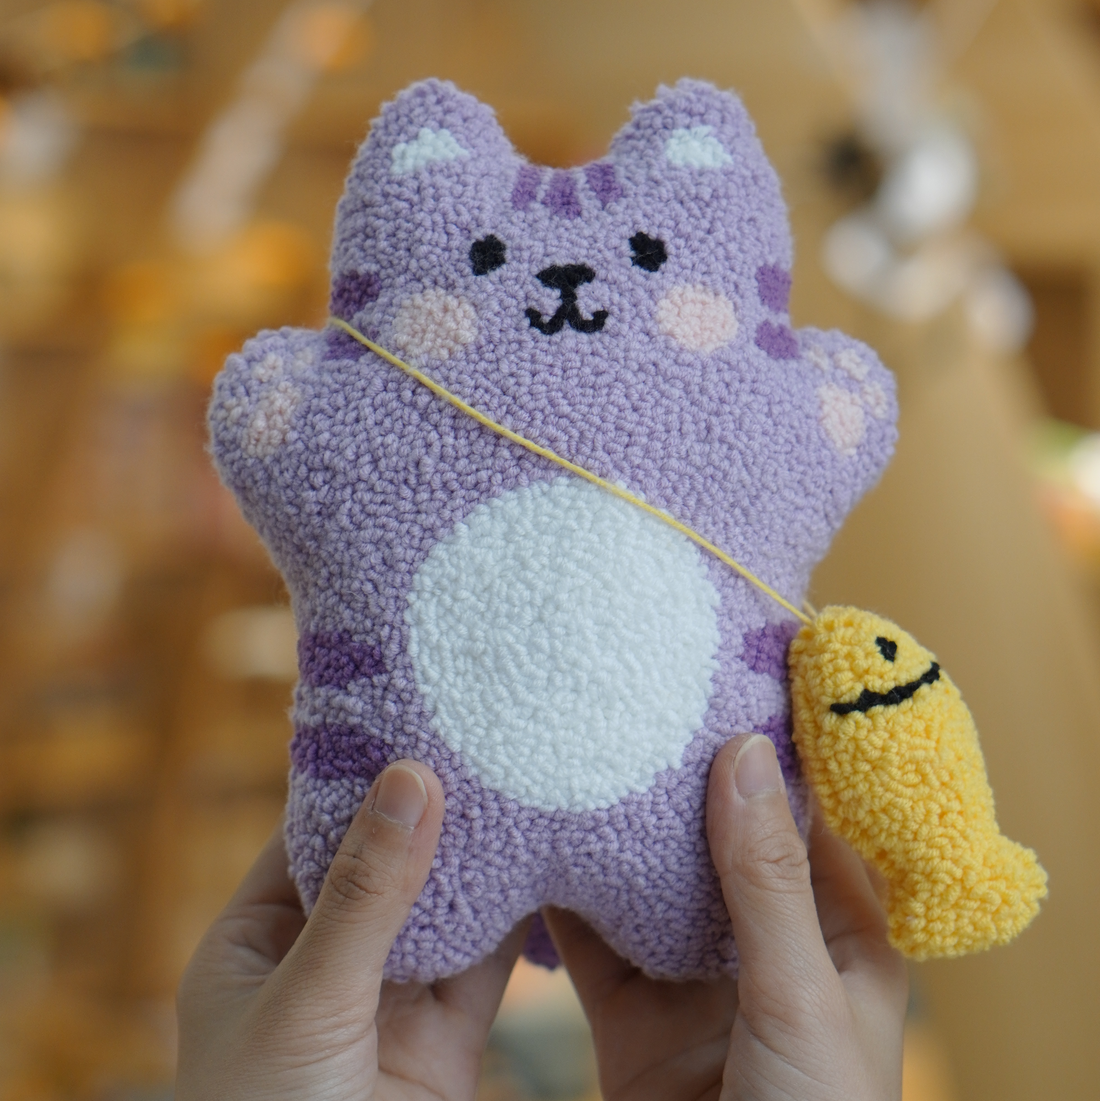
Helpful Tips for Punch Needle Toy Embroidery
Share
Helpful Tips Before You Start:
- The printed pattern side is the back of the finished project. To check your progress, flip the project over and examine the unprinted side.
- Punch straight down to avoid angled stitches.
- Ensure the punch needle penetrates the fabric deeply for the best results.
Keep the yarn feeding into the punch needle loose to prevent tension and ensure smooth stitching. - Lift the punch needle slightly while keeping contact with the fabric to avoid pulling out stitches.
- If you make a mistake, gently remove the yarn, rub the needle over the fabric to close the holes, and restart the stitch.

1. Set Up the Embroidery Hoop
- Loosen the embroidery hoop by turning the screw at the top.
- Remove the inner hoop from the outer hoop.
- Lay the inner hoop on a flat surface and place your fabric over it, making sure it is centered and free of wrinkles.
- Carefully position the outer hoop over the inner hoop and fabric, ensuring the fabric stays taut.
- Tighten the screw at the top while adjusting the fabric’s edges as needed to keep it smooth and firm. For the best results, ensure the fabric is stretched as tightly as possible before starting your punch needle project.

2. Thread the Punch Needle
- Keep the sticker at the bottom of the threader in place.Start by inserting the threader through the hole at the back of the punch needle tip.
- Carefully pull the threader through until it emerges from the hole in the wooden handle.
- Then, place the yarn into the loop at the end of the threader.
- Once the yarn is securely positioned in the loop, gently pull the threader back through the hole, making sure the yarn moves smoothly through.
- Pull about 2 inches of yarn through the threader before removing the tool.

3. Learn to Punch
- Hold the punch needle tool like a pen, with the needle tip facing downward. Ensure that the yarn is unraveled, allowing for smooth movement without tension.
- Position the needle on the fabric, with the backside of the needle facing you. Apply downward pressure and push the needle tip through the fabric until it reaches the maximum depth allowed by the punch needle.
- Pull the short yarn tail to the front side of the fabric.
- Lift the punch needle slightly out of the hole, just enough to reposition it for the next stitch while maintaining contact with the fabric. Avoid lifting too high, as it may pull the stitch out.
- Move the punch needle 1–2 fabric holes and punch through the fabric again.
Rotate the embroidery hoop as necessary to access different areas of the fabric, keeping the back of the punch needle facing you. - Continue punching stitches to fill the desired area, periodically checking the front side of the fabric to gauge progress.For the final stitch, leave the punch needle in the fabric and cut the yarn tail. Then, gently pull the punch needle out.

4. Finishing your Project
- To prevent the yarn from coming loose, apply glue.
- After the glue dries, use scissors to cut along the dashed lines.
- Place the two sides of the piece together and sew, leaving one corner open for turning.
- Turn the sewn piece right side out. Stuff the inside with cotton, then sew the opening closed using a blind stitch.

Troubleshooting
| PROBLEM |
The loops are not staying in the fabric. | The loops are inconsistent in height, making the design look uneven. | There isn’t enough yarn to complete the project. | The yarn is not feeding smoothly through the punch needle. |
| SOLUTION |
Ensure the fabric is taut within the embroidery hoop. Punch the needle all the way down so the handle touches the fabric each time. Maintain consistent tension on the yarn and avoid lifting the needle too high between punches. |
Maintain an even rhythm while punching and ensure the needle goes to the same depth (to the black spacer) each time. |
The yarn included has been carefully measured with extra to account for mistakes. If you run out of yarn, your punches may be too close together. To avoid this, space your punches further apart to ensure you have enough yarn for the entire project. |
Check if the yarn is caught or stuck anywhere along the needle or threader. Ensure the yarn flows freely. Adjust the tension on the yarn so it can move smoothly through the needle. |


